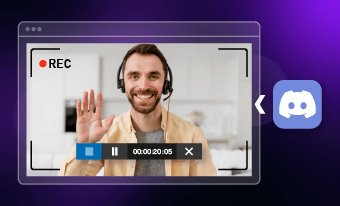
Streaming video is unlike any other video on social media, which allows you to replay and download. Once the livestream session ends, all valuable content will be lost instantly.
Here in this blog, we will show you the 10 best livestream recording tools working on all sorts of platforms. Pick the best one to record a streaming video for free!
TABLE OF CONTENTS
1. Windows Game Bar
Windows Game Bar is a built-in tool that transforms your PC into a streaming video recorder, especially for gamers. You can use it to record streaming video as well as the system audio simultaneously and control the audio level, only with a simple shortcut.
The best part of using Windows Game Bar is that it operates with low system resource usage, ensuring minimal interference with other activities. You can also use it to view CPU, GPT, and RAW usage. Keep an eye on the system performance while recording a live stream!
How to Record Live Streaming Video with Windows Game Bar
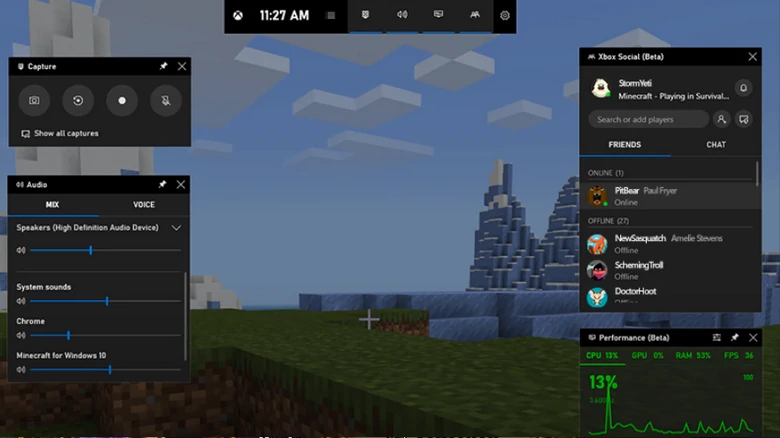
Record Live Streaming with Windows Game Bar
Downsides of Using Windows Game Bar
2. FlexClip
FlexClip is perfect for those who want their livestream recording to sparkle without any stress. Follow the simple prompts, you can use it to capture any part of your computer screen in up to 4K, and audio resources, for free! Since it is an online tool, FlexClip doesn’t ask you to download, or install anything on your computer.
What’s better, FlexClip offers you amazing editing tools. You can trim, add filters, crop, and make many more edits to your streaming video. Play with your live streaming records with great ease!
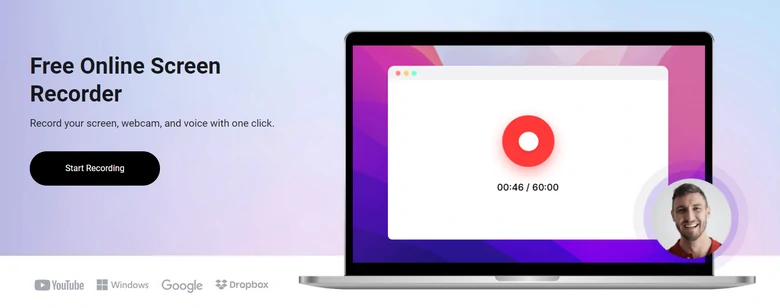
FlexClip Screen Recorder Overview
How to Record Live Streaming Video with Windows Game Bar


Select a Recording Mode
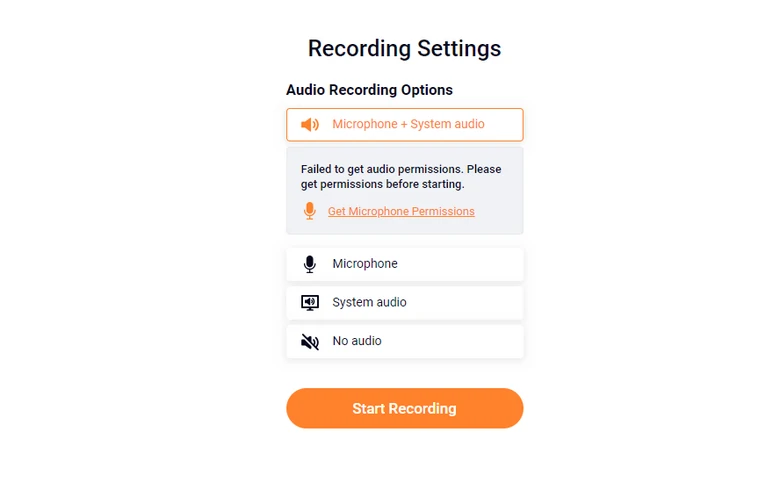
FlexClip Audio Recording Options
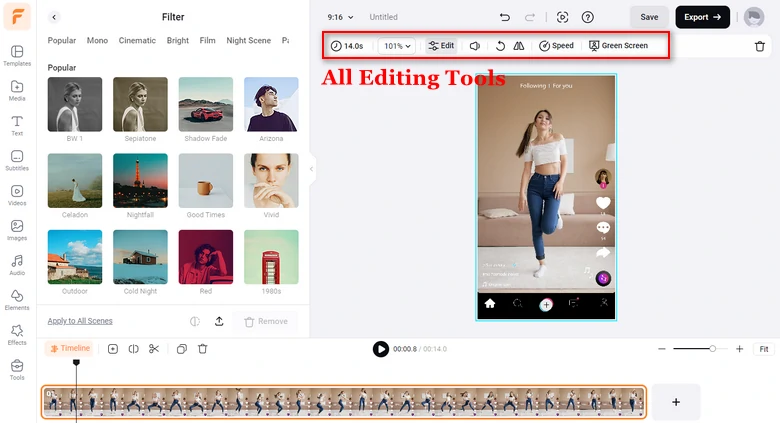
Edit Live Streaming Recording
Downsides of Using FlexClip
3. VLC
VLC isn’t just your go-to media player. It handles all the heavy lifting of recording and live streaming with high precision. Whether you are recording a gameplay, a tutorial, VLC makes the complex feel effortless.
Plus, VLC is open-source. It offers live streaming recording features for nothing at all! Additionally, you can use VLC to trim recordings, convert video formats, add subtitles. All these editing features may not be as handy as other professional video editing tools, but it is worthwhile to try them.
How to Capture Streaming Videos with VLC
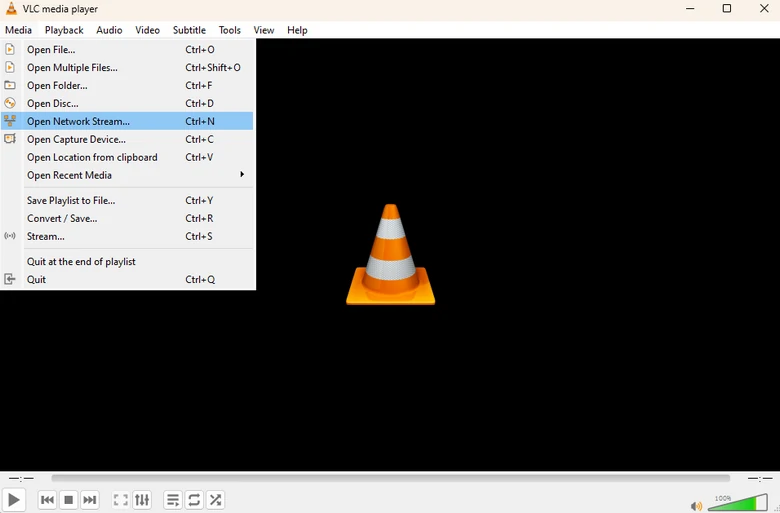
VLC Open Network Stream Option
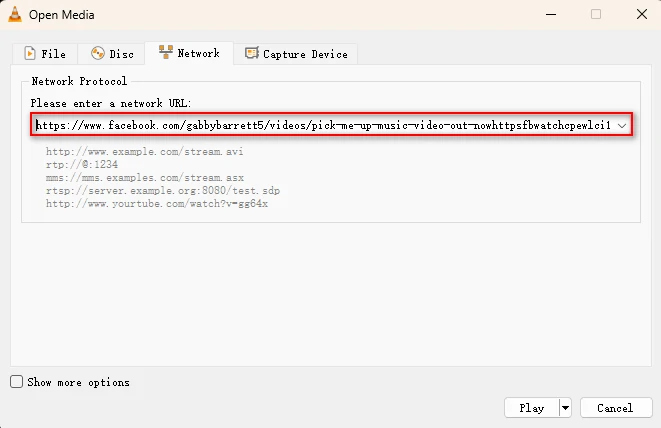
Paste Streaming URL to VLC
Downsides of Using VLC
4. ShareX
ShareX is a blessing for creators who want flexibility as well as high-quality streaming recordings. It allows you to capture specific regions, full screens, or even individual windows, making it extremely adaptable to whatever you’re streaming. The highest streaming video recording quality is up to 4K, 60FPS.
Additionally, it comes with a range of advanced features like customizable hotkeys, scheduled captures, and instant sharing to cloud services.
How to Capture Streaming Videos with ShareX
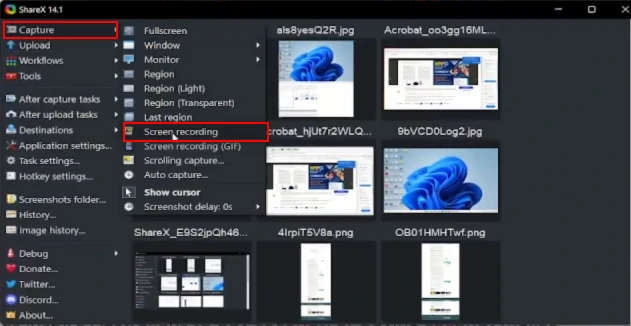
ShareX Screen Recording Option
Downsides of Using ShareX
5. QuickTime Player
QuickTime Player is a powerhouse in terms of recording streaming videos. It cuts out fancy settings and complicated interfaces and keeps everything simple. All you need to do is hit the record button, sit back, and wait for the 4K streaming record.
Since QuickTime Player is part of the Apple system, you can use iMovie to edit the stream recordings, or share via iCloud.
How to Record Streaming Video with QuickTime Player
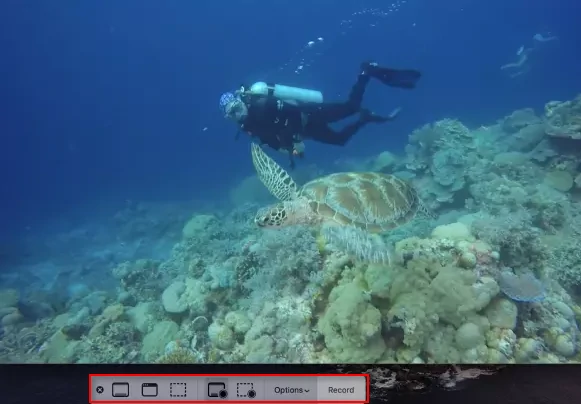
QuickTime Player Recording Live Streaming
Downsides of Using QuickTime Player
6. OBS
OBS always captures streaming video and makes it look professional and polished. It is completely free and open-source, with powerful features like customizable scenes, multiple video sources, and audio control. In a word, you get all the streaming features needed in one place - OBS.
Besides recording, OBS is also a nice streaming tool. You can capture and stream a video at the same time. To be a better streaming tool, OBS is equipped with advanced features like audio mixing, overlays, and smooth transitions between each scene.
How to Record Streaming Video with OBS
OBS Record Live Streaming Video Tutorial
Downsides of Using OBS
7. Snagit
The flexibility to capture any parts of the screen, and any audio sources is the least criterion of a great streaming video recorder. Snagit goes one step further. It provides a library where you can organize and manage your captures. It also offers a suite of built-in editing tools to annotate, highlight, and customize your captures.
Snagit makes saving and exporting the recorded streaming video easier than ever! You can export them directly to a local folder, a cloud service, or post to social media.
How to Record Streaming Video with Snagit
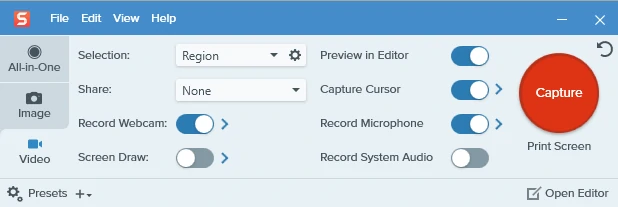
Snagit Screen Record Tool
Downsides of Using Snagit
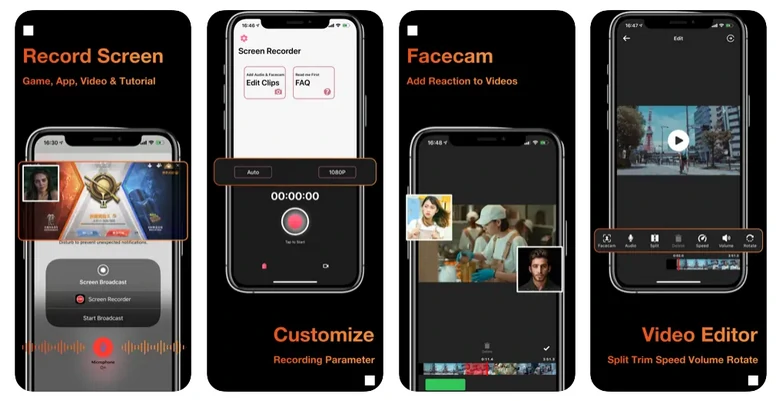
8. Record It
It is true that both iPhone and Android offer recording services. But we still recommend Record It because of its wonderful features. You can start recording the live streaming video in just one tap. Additionally, you can add face cam reactions to your recordings, record voice commentary, or trim the recordings instantly.
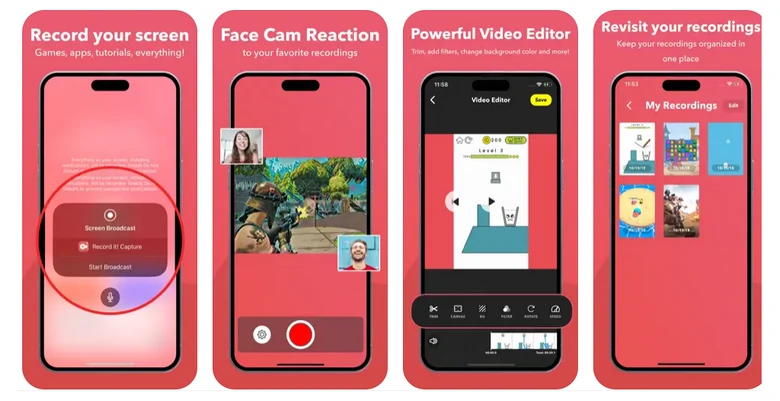
Record It App Overview
Downsides of Using Record It
9. Loom
Loom works on the computer, as well as the mobile. Yet, we love it on mobile. It is one of the easiest ways to record live streaming. After recording, you can share the recorded video via a short link. Others can easily make comments above the video.
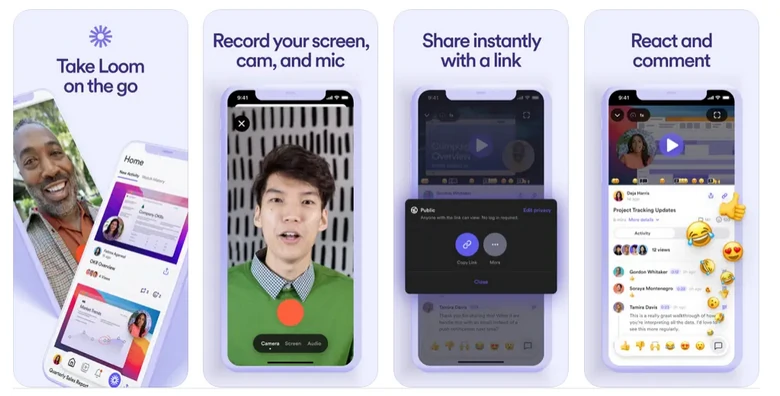
Loom App Overview
Downsides of Using Loom
10. AZ Recorder
AZ Recorder is an excellent tool for recording live streaming. It is extremely user-friendly for both beginners and advanced users. Even though it can only record in 1080P, it doesn’t have any time limits or add watermarks to the record.
It also includes built-in editing tools so that you can trim, merge, or add background music to the live-streaming records.
AZ Recorder App Overview
Downsides of Using AZ Recorder
FAQs About Recording Livestreaming
1. Is it legal to record live streams?
Legality varies depending on the content and platform. Some live streams are protected by copyright, and recording or redistributing them without permission may be illegal. Always check the terms of service and local laws.
2. What should I do if my screen recorder crashes during a live stream?
If your screen recorder crashes, try restarting the app on your device. To avoid future issues, ensure your device has enough memory and close unnecessary apps running in the background.
3. How much storage do I need for recording a live stream?
The amount of storage required depends on the length of the stream and video resolution. For instance, if you are recording a one-hour live stream in 1080P, you will need at least 2 gigabytes of space.


FlexClip Video Maker
The easiest way to help you create custom videos, no design skills needed.
Start Now for Free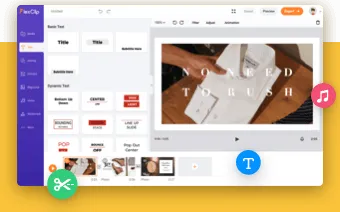
Hot & Trending
-

Ultimate Tik Tok Guide – How to Tik Tok & How to Make a Tik Tok Video that Gets Likes
-

Instagram Story Video Quality Bad After Upload? Fix It!
-

7 Best Ways to Find Music in YouTube Videos
-

How to Repost Video on TikTok & How to Remove TikTok Repost
-

Improve Video Quality Online: 3 AI Video Quality Enhancers You Can't Miss
-

4K Convert to HD 1080p without Watermark: Best 4k Video Converters
-

How to Change Face in Video on Phone/Desktop/Online
-

Top 13 Birthday Video Makers with Music and Effects Free