In some excellent movies, there are many footage with stunning transition effects that can create an atmosphere of memories when the hero and heroine meet again, which are really impressive. It’s called the flashback transition effect or dream transition effect.
The advantage of a flashback transition effect or dream transition effect is that it can take the story back to a time before the audience joined the narrative.
Are you want to make such an effect in your videos as well? We will recommend the Premiere Pro and its best alternative for you to make flashback transition effect or dream transition effect in video. So follow along with me to make your cool flashback transition effect or dream transition effect!
Contents:


Part 1 How to Make Flashback Transition in Premiere Pro
Many people choose to make a flashback transition effect or dream transition effect in Premiere Pro since the best thing about it is that after making a flashback transition you can copy and paste it to other projects and customize it as needed. In Premiere Pro, the flashback transition includes 12 transitional effects and 5 presets. The unique set is ideal for films, music videos, and slideshows.
The steps outlined below will teach you how to make a flashback transition effect or dream transition effect in Premiere Pro. So without further ado, let's dive in.
Make Flashback Transition Video in Premiere Pro
Part 2 How to Make a Flashback Transition in FlexClip
Although Premiere Pro is able to make flashback transition effect or dream transition effect and offers plenty of video editing features else, its complicated interface may be intimidating for beginners. People with little editing experience often find it challenging to make flashback transition or dream transition effect on it, so you should consider learning how to achieve this effect in FlexClip. FlexClip is a best alternative for Premiere Pro to make dream transition effect. If you are looking for a strong editing tool that is accessible anytime, FlexClip is the one for you!
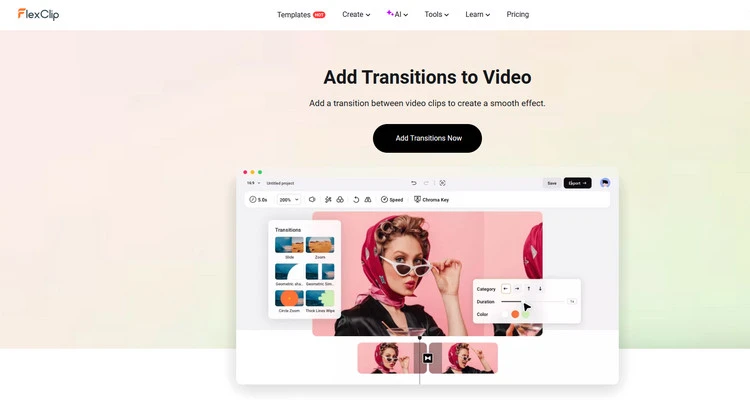
Add Transition to Video - FlexClip
The transitions in FlexClip for different scenes are countless. You can pick engaging flashback transition to apply to different kinds of videos. It expresses a concise and straightforward editing interface, which is friendly to video beginners. FlexClip enables you to add dreamy flashback transition to video in a single click even if you have no experience in video editing. Moreover, it allows you to customize the flashback transition, like adjusting the easing and duration. You can adjust the duration to control how long it shows and add sound effects for flashback transition to make it more dynamic. Plus, it provide lots of transition effects for you to add different transitions to your video.
If you want to take your flashback transitions to the next level, FlexClip offers many built-in resources for you to try. It offers diverse video filters for users to choose from. You can choose a dark filter to add the color tint, which can create enough differentiation between the timelines to prevent confusion. More, contrast, exposure, brightness, saturation, and other video settings can be adjusted to help you achieve an aesthetic video look. FlexClip has many overlay effects and you can add a sense of age to your videos through it.


Upload your video clips from your phone, PC, Google Drive, One Drive, Dropbox, or Google Photos and apply them to the timeline directly.
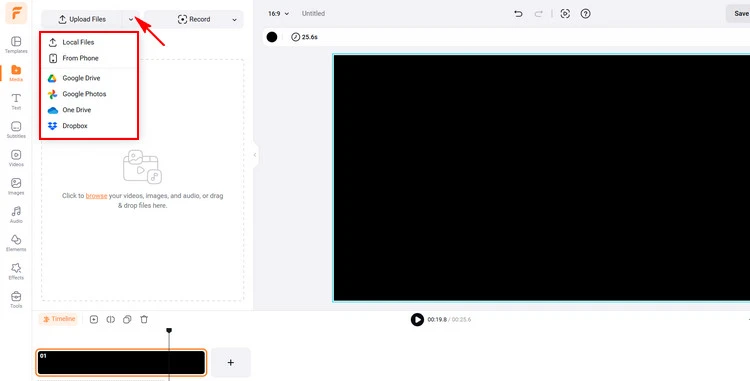
Upload Your Own Video/Image Materials - FlexClip
Or you can use clips from FlexClip’s abundant video/photo library to inspire you.
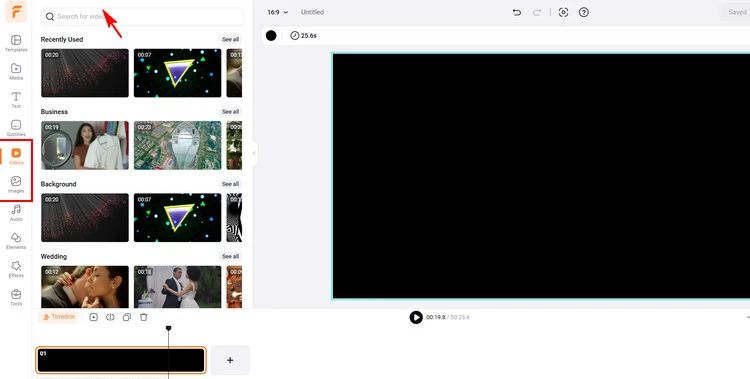
Video/Image Library - FlexClip
Firstly, tap the Split button to divide one video into two parts and then insert another video as the flashback part between the divided video.
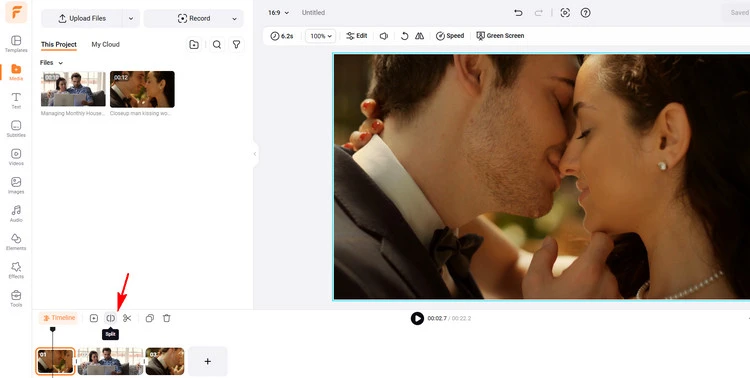
Insert Video - FlexClip
Secondly, click the Transitions button to choose the Blur Transition, which is perfect for flashback transition effect or dream transition effect. And you can adjust the duration according to your preference. Moreover, you can add different sound effects to fit for your added flashback transition.
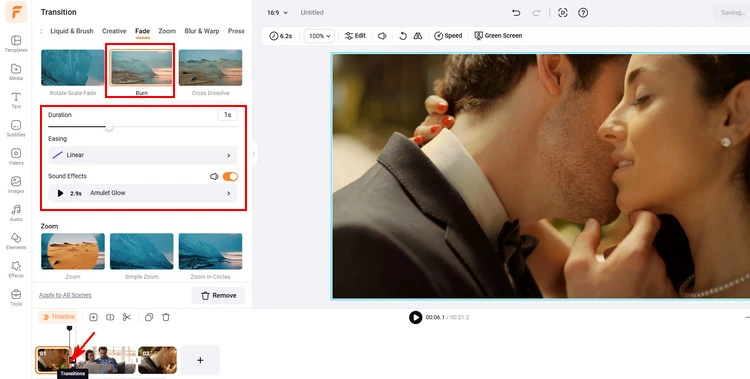
Add Transition - FlexClip
Thirdly, click the Filter button to choose a greyscale filter over the inserted video and adjust its intensity. Moreover, tap on the Overlays button to choose an effect overlay on the video.
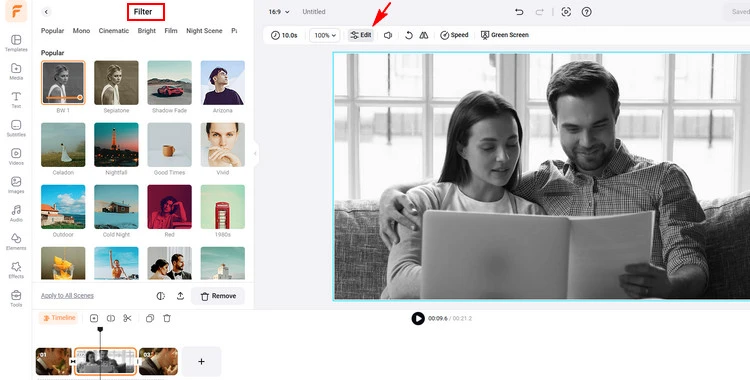
Add Filter - FlexClip
Once you’re finished editing, click the Export button to download your video with a flashback transition effect or dream transition effect in clicks.
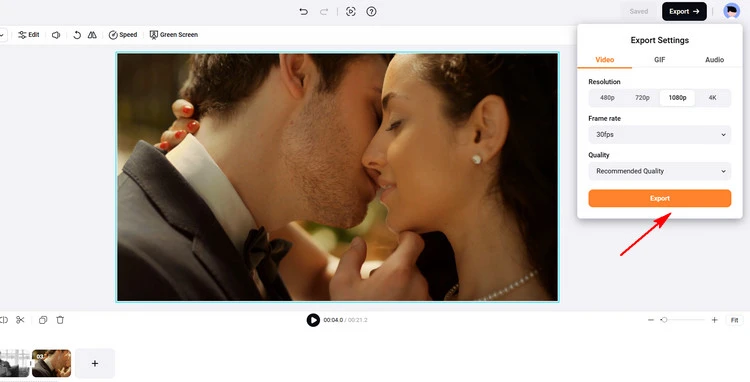
Download Your Video with Flashback Transition - FlexClip
Conclusion
Many filmmakers use flashback transitions in remarkable ways and make the movie more memorable. While the general public also can use this flashback transition to make their video more engaging. And FlexClip can be your first choice. Because as a household name in the video editing industry, FlexClip can help you do so much more than making flashback transition effect or dream transition effect with its additional powerful editing tools and rich resources to make stunning visual effects, like adding subtitles or using free templates. Hopefully, you can create a video with flashback transition in a snap!


FlexClip Video Maker
The easiest way to help you create custom videos, no design skills needed.
Start Now for Free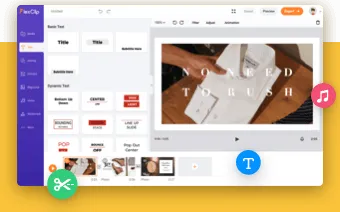
Hot & Trending
-
Ultimate Tik Tok Guide – How to Tik Tok & How to Make a Tik Tok Video that Gets Likes
-

Instagram Story Video Quality Bad After Upload? Fix It!
-

7 Best Ways to Find Music in YouTube Videos
-

How to Repost Video on TikTok & How to Remove TikTok Repost
-

Improve Video Quality Online: 3 AI Video Quality Enhancers You Can't Miss
-

4K Convert to HD 1080p without Watermark: Best 4k Video Converters
-
How to Change Face in Video on Phone/Desktop/Online
-

Top 13 Birthday Video Makers with Music and Effects Free